A button is a great way to call attention to a call to action in your WordPress site. In this video we show you how to do it in the Classic Editor and in the Block Editor.
Adding a Button in Classic Editor
If you’re using the classic editor you will need to add a CSS style to the link in text view. If you’re using a website that we’ve set up for you, we have a style called “button” already set up for you. Follow these steps to add a button in classic editor:
- Switch to text view, by clicking the text tab in your post editor.
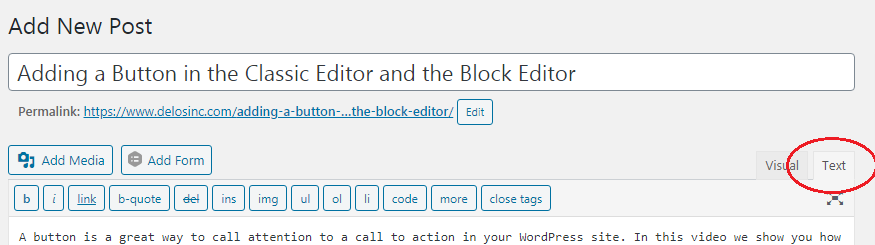
- Find your link and then add class=”button” to the a tag
![]()
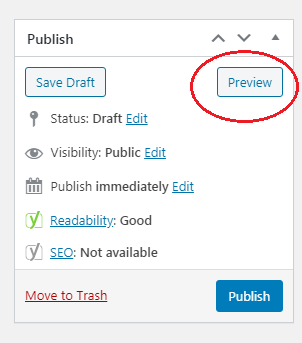
- Hit preview to view the button in your post.
If you aren’t using one of our sites here is a sample CSS you can add to the Customizer. You’ll want to change the colors to match your theme.
.button {
background-color: #f44336;
color: white;
padding: 14px 25px;
text-align: center;
text-decoration: none;
display: inline-block;
}
Adding a Button in Block Editor
Adding a button is even simpler in the block editor version of WordPress as there’s a built-in button block.
- Add a new block by either clicking the plus sign and selecting block.
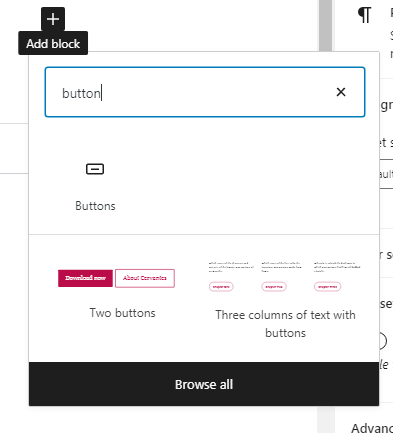
- You can also use the short cut /button.
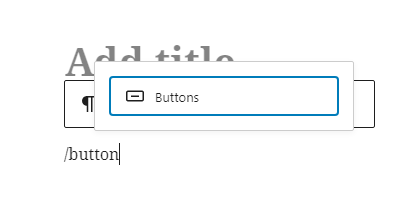
- Then type your button text, click on the link and add your URL.
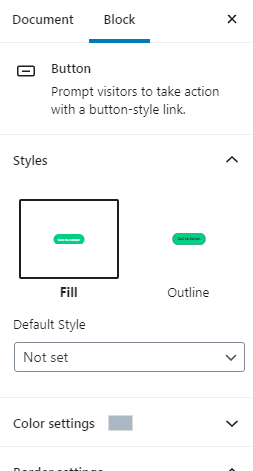
- You can then change all the various button setting son the right hand side of your editor. The color options you have will depend on what theme you’re using. You will probably have a default color set for you.
If you want to get more tips to help you get the most out of your WordPress site, subscribe to our YouTube channel, so that you don’t miss out on any of our WordPress tips.