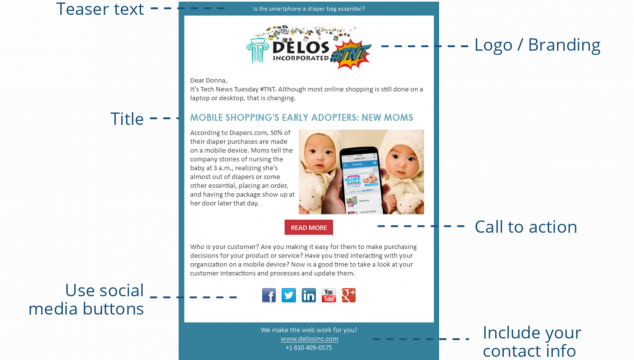
We receive a lot of questions regarding where to get started in Constant Contact, and how to send your first email out. One of the things that makes a lot of sense is to have a good template that you use every time you want to send an email. Saving information in a template such as your contact information, social media, and your branding will allow you to concentrate on the content you want to get out.
In the following video, we will show you how to generate an email using a template, and how to add and customize your content in the blocks.
Create
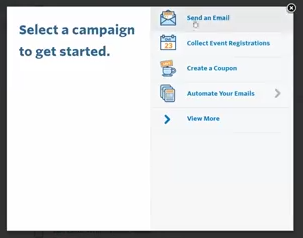 There is a Create button on the right of the dashboard, or go to Campaigns and click Create from there. Click Send an Email to get started, and choose one of Constant Contact’s many saved templates, or one you have already saved for yourself.
Blocks
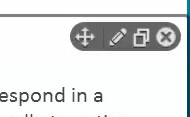 Templates are made out of blocks that you can add, move or delete within your template. As you roll over the template you can see a series of blocks where you edit the content.
- The plus lets you move the block
- The pencil allows you to edit the block
- The double square will duplicate the block
- The X deletes the block
Subject and Preheader
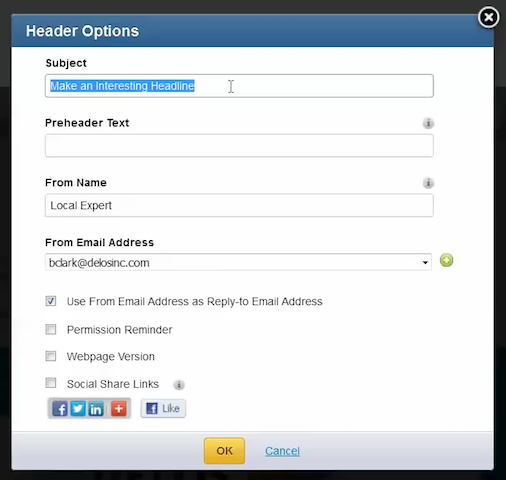 Click on the pencil icon next to Header Options to edit the first block and add a subject and preheader text. These are the first few lines people will see in their inbox before they open your email. Click OK to save.
Intro Block
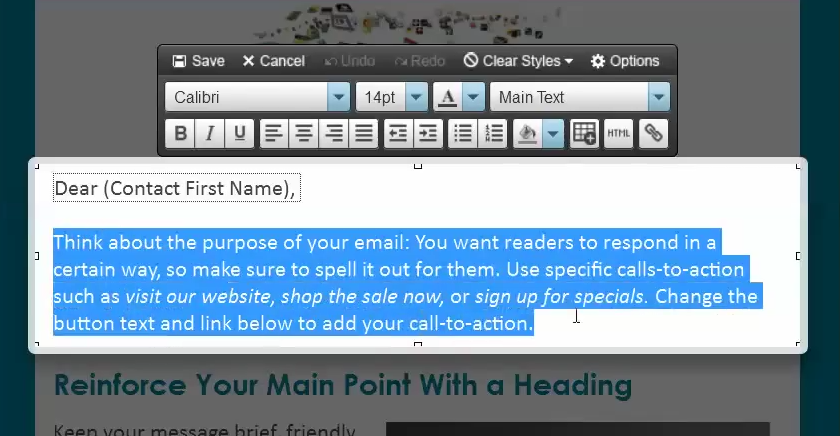 Replace the current copy of the content in each block with the text that you want. You’ll notice an editing toolbar where you can choose bold, italic, adding in links, changing colors, and other information similar to using a word processor. When you have the information in a block, click on Save on the toolbar to save the content in your block.
Content and Change Image
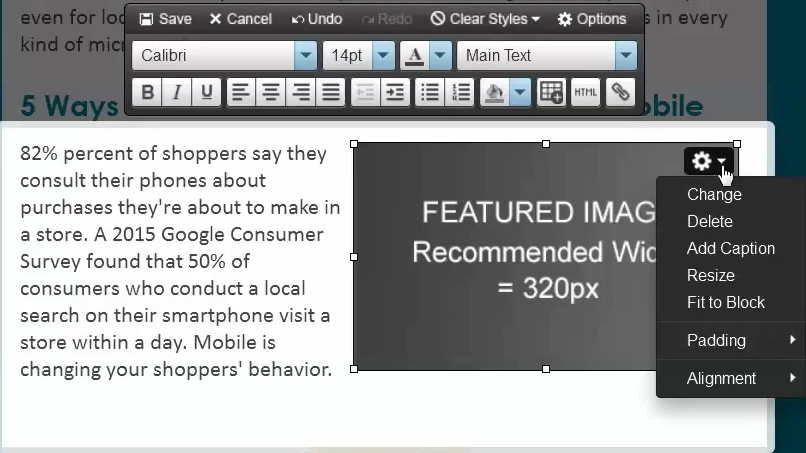 Click on the gear icon and select to Change the image, you can link with a URL from your website, or upload an image to your Constant Contact Library. Don’t forget to add an image description that will show for readers without images in their email client.
Call to Action Button
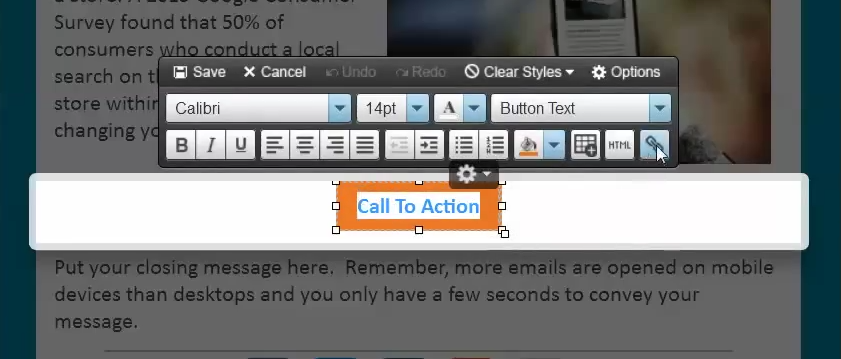
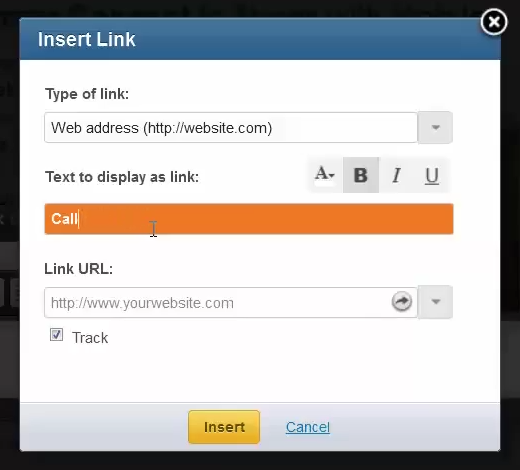 Select the text and click the link icon, type in what you want your text to read (for example: LEARN MORE), and paste the URL you want to link to.
Schedule
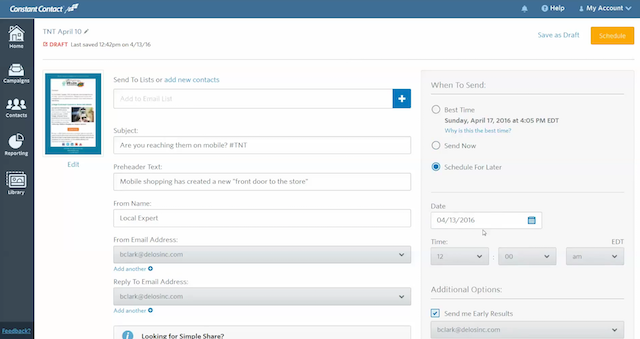
Once you are ready to send, click Continue, you are now at the menu where you select who you want to send this email to, and when you want to send it. You can send the email immediately, or use Constant Contact’s Best Time option, or schedule your email to be sent on a specific day and time.
Social sharing
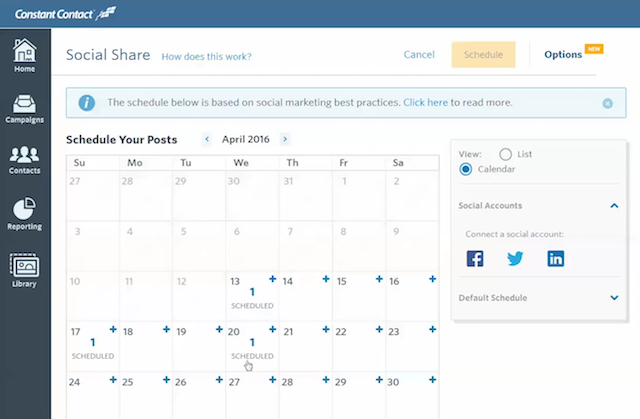
You can see a list of different posts or a calendar view of posts that will help you decide when you want to share this email. Select the picture you want to send with your post and link up your social media accounts to schedule your posts to promote your campaign.
There are many options to customize in your templates. With all of the blocks that can be edited in your, start by clicking the pencil icon, and once you are satisfied with your content, click Save. If you would like a free Constant Contact Practice account, click HERE.
